Last Updated on March 2, 2023 by tawhid
There are a few different ways that you can remove an RV roof vent screen. The first way is to use a putty knife or another sharp object to pry the screen off of the vent. This might take a little bit of force, but it should eventually come off.
If the screen is really stuck on, you can try heating it up with a hair dryer or heat gun to loosen the adhesive. Another option is to use a product like Goo Gone or WD-40 to help break down the adhesive and make it easier to remove the screen. Whichever method you choose, be sure to exercise caution so that you don’t damage the roof of your RV.
- Climb up onto the roof of your RV and locate the vent screen that you need to remove
- Use a screwdriver or other tool to remove the screws that are holding the screen in place
- Carefully pull the screen away from the vent opening, being careful not to damage it
- If necessary, use a vacuum cleaner or other tool to remove any debris that may be inside the vent opening
- Once the screen is removed, you can clean it with soap and water, if desired, before replacing it or storing it for future use
How to Clean Rv Roof Vent Screen
Are you the proud owner of a recreational vehicle? If so, then you know that one of the most important aspects of keeping your RV in top shape is maintaining a clean roof. Not only does this help improve your gas mileage, but it also helps keep your RV looking its best.
Here are some tips on how to clean your RV’s roof vent screen:
1. First, use a ladder to climb up onto the roof of your RV. Be sure to take proper safety precautions and have someone hold the ladder for you while you’re up there.
2. Once you’re on the roof, locate the vent screen that you need to clean. Thescreen is usually located near the edge of the roof, near where the chimney or exhaust pipe is located.
3. Use a soft brush to gently remove any debris or dirt that may be onthe screen.
You can also use a vacuum cleaner with a hose attachment to suck up any loose dirt particles.
4. Once all of the dirt and debris has been removed, rinse off the screen witha garden hose or pressure washer. Be sure to aim the sprayer away from yourself and anyone else who may be nearby.
5. Allow the screen to dry completely before replacing it back onto therv’s roof vents opening .
How to Replace Rv Vent Covers That are Cracked
One of the most important parts of an RV is the vent cover. Not only does it help keep the inside of your RV clean, but it also protects you from the elements when you are out on the road. Unfortunately, over time, these vent covers can become cracked and damaged, leaving you vulnerable to the elements.
In this blog post, we will show you how to replace your RV vent cover so that you can continue to enjoy your travels without worry.
The first thing that you need to do is remove the old, damaged vent cover. This can be done by unscrewing the screws that hold it in place or by prying it off with a screwdriver.
Once the old cover is removed, take a look at the area around the opening to make sure that there is no damage to the surrounding areas. If everything looks good, then proceed to step two.
Step two is to measure the opening for your new vent cover.
You will want to make sure that you get an accurate measurement so that your new cover fits snugly in place. Once you have your measurements, head over to your local hardware store or home improvement center and purchase a replacement vent cover that is slightly larger than your opening measurement. This will ensure that it fits properly and doesn’t leave any gaps for air or water to enter through.
Now comes time for installation! Start by aligning one side of your new vent cover with one side of the opening and then use screws or nails (depending on what type of material your newcoveris made out of)to secure it into place along all four sides. That’s it!
You’ve now successfully replacedyourRVventcoverand can rest easy knowingthatyouareprotectedfromtheelementsonceagain!
Installing Trailer Roof Vent
Assuming you are speaking of a roof vent for a RV trailer:
Most RV trailers come equipped with at least one roof vent, and many have two or more. Roof vents provide much-needed ventilation in hot weather, and can also be used for exhaust fans in the kitchen and bathroom.
When installing a new roof vent, it’s important to follow the manufacturer’s instructions carefully. Here’s a general overview of the installation process:
1. Choose a location for the vent.
The best spot is usually near the center of the trailer, away from any trees or other obstacles.
2. Drill four pilot holes through the roof (two at each end of the hole saw template that came with your vent).
3. Use the hole saw to cut out an opening for the vent base.
Be sure to keep the blade level so that it cuts evenly around the entire circumference.
4a. For a manual vent, install the provided crank handle onto the base unit before attaching it to the roof (this step may be reversed in your case—check your instructions).
Hand-tighten all four screws to secure it in place, then use pliers to give them an extra quarter-turn so they’re tight but not over tightened (you don’t want to strip out the threads).
4b. For a powered vent, attach wires from inside according to manufacturer’s instructions before screwing base unit into place from outside; seal wires’ entry point with caulking 5.
Place rubber gasket that came with your unit over hole you cut in step 3; set base unit on top and hand-tighten all four screws until snug (do not overtighten).
6a If using sealant tape instead of caulk, apply around perimeter of flange on underside of base unit following directions on package (usually just peel off backing paper and press into place). Let dry per package directions before moving on to next step 6b) If using latex caulk, apply bead around perimeter of flange on underside of base unit; smooth with putty knife dipped in water if necessary; let dry per package directions (usually 24 hours) before moving on to next step
7) Install provided trim ring around edge ofvent opening from inside trailer
Rv Roof Vent Replacement Parts
If you are in need of RV roof vent replacement parts, there are a few things that you will need to take into consideration. The first thing that you will need to do is to contact the manufacturer of your RV and inquire about the specific parts that you will need for your replacement. Many times, the manufacturer will have a list of recommended replacement parts for you to choose from.
Another option would be to contact a local RV dealer or service center and inquire about the specific parts that you will need for your replacement. They should be able to order the necessary parts for you and install them on your RV.
Finally, if you are comfortable working on your RV yourself, there are a few online retailers that sell RV roof vent replacement parts.
Be sure to compare prices and shipping costs before making a purchase from one of these retailers.
Rv Roof Vent Screen Frame
If you have an RV, then you know how important it is to keep the roof vent screen free from debris. The last thing you want is for leaves and other materials to clog up your vents and cause problems with your RV’s ventilation system. That’s why it’s important to regularly clean your RV’s roof vent screen frame.
Here are some tips on how to clean your RV’s roof vent screen frame:
1. Start by removing any debris that may be on the surface of the screen frame. This can be done with a soft brush or a vacuum cleaner with a soft brush attachment.
2. Once the surface of the screen frame is clear, use a mild soap and water solution to clean it. Be sure to rinse off all of the soap before moving on.
3. Next, use a toothbrush or other small brush to clean any dirt or grime that may be in hard-to-reach areas of the screen frame.
Again, be sure to rinse off all of the soap before moving on.
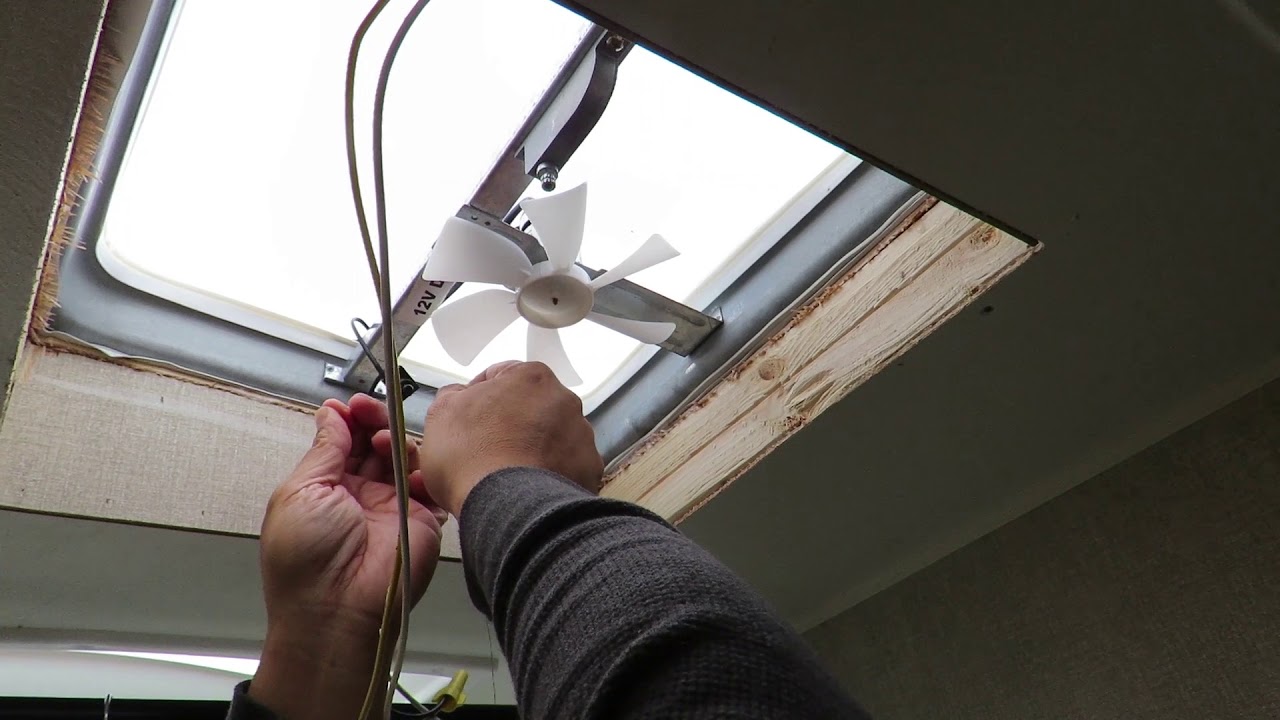
Credit: www.youtube.com
How Do You Remove an Rv Vent Screen?
If you need to remove an RV vent screen, the process is actually quite simple. All you need is a screwdriver and a few minutes of time. Here are the steps to follow:
1. Start by locate the screws that hold the vent screen in place. There are usually two screws, one on each side of the screen.
2. Use a screwdriver to loosen and remove these screws.
3. Carefully pull the screen away from the RV vent opening. You may need to wiggle it a bit to get it started, but it should come off easily enough once the screws have been removed.
4. That’s all there is to it!
Once the screen is off, you can clean it or replace it as needed.
How Do You Remove an Rv Roof Vent Cover?
Removing an RV roof vent cover is a simple process that can be done in a few minutes. The first step is to locate the screws that hold the vent cover in place. There are usually four screws, two on each side of the cover.
Once the screws are located, use a screwdriver to remove them. Be careful not to strip the screws as you remove them.
Once the screws are removed, gently lift the vent cover off of the RV’s roof.
If there is any adhesive holding the cover in place, carefully peel it away from the roof. If necessary, use a putty knife or another sharp object to loosen any stubborn adhesive.
With the cover removed, take a look at the sealant around the edges of the opening.
If there is any cracked or missing sealant, use a caulk gun to apply new sealant around the edges of the opening. Be sure to smooth out any uneven areas so that water will not be able to enter through gaps in the sealant.
How Do You Clean Rv Ceiling Vent Screens?
If you have ever looked up at your RV’s ceiling vents and noticed them looking a little dirty, you may be wondering how to clean them. After all, those screens can get pretty grimy from all the dust and dirt that gets kicked up while driving down the road. Luckily, cleaning RV ceiling vent screens is relatively easy to do and only takes a few minutes.
The first step is to remove the vent cover from the ceiling. Most covers simply unscrew or snap off, so this should be easy to do. Once the cover is off, take a look at the screen inside.
If it looks really dirty, you may want to vacuum it first to get rid of any loose debris.
Next, fill a bucket with warm water and some mild dish soap. Dip a soft cloth or sponge into the soapy water and then start scrubbing the screen in a circular motion.
Be sure to rinse it well afterwards with clean water to remove any soap residue. Finally, let the screen air dry before putting the cover back on.
How Do You Replace a Vent Cover?
Assuming you are talking about a floor vent cover, the replacement process is actually quite simple. You will need a few tools and materials before getting started, including a screwdriver, drill, new vent cover, and screws. Once you have everything together, just follow these steps:
1. Remove the old vent cover by unscrewing the screws that hold it in place. Be careful not to damage the surrounding area as you remove it.
2. Take your new vent cover and line it up with the hole left behind by the old one.
3. Use your drill to create pilot holes for the screws in each corner of the new vent cover.
4. Screw in the new vent cover using the screws provided. Make sure they are tight so that it doesn’t move around or come loose over time.
Fulltime RVing Removing and Repairing an RV Roof Vent
Conclusion
Removing a vent screen from an RV can be done easily and quickly with just a few simple steps. First, locate the screws that hold the screen in place on the roof of the RV. Next, use a screwdriver to remove these screws.
Once the screws are removed, the screen can be lifted off of the RV’s roof. Finally, clean any debris or dirt off of the roof before replacing the screen and screwing it back into place.