To fold a wall tent, first remove all the poles and stakes. Lay the tent flat on the ground. Fold one side of the tent over the center, then fold the other side over.
Next, fold the top and bottom of the tent towards the center. Finally, roll up the tent from one end to the other.
- Gather all the necessary supplies
- You will need a wall tent, a tarp, some rope, and some stakes
- Lay the wall tent out flat on the ground
- Make sure that the floor is level and that there are no rocks or sticks underneath it
- Fold one side of the tent up so that it is about three feet tall
- Then fold the other side up so that it is the same height
- Tie the two sides together with some rope or string
- Make sure that the knot is tight and secure
- Fold the top of the tent down so that it covers half of the sides of the tent
- 6 Tie this section off with more rope or string
- 7 8Stake down all four corners of your newly made wall tent
Davis Tent Folding Video
https://www.youtube.com/watch?v=i7W6LXYq3l0
Looking to purchase a Davis Tent?
Check out this video on how to fold and set up your new tent!
Davis Tent Instructions
Assuming you would like instructions on how to set up a Davis Tent:
Davis Tent Instructions:
1. Begin by selecting a level spot for your tent.
If possible, find an area that is already cleared and free of debris. If not, clear an area that is large enough for your tent footprint plus a few feet around the perimeter. Be sure to remove any sharp objects from the area before continuing.
2. Next, lay out your tent footprint in the desired location and stake it down at the corners.
3. Once the footprint is staked, start setting up the poles according to their color-coding (matching poles together). Connect the ends of each pole using the plastic clips provided.
4. With all of the poles assembled, insert them into the fabric sleeve loops located around the perimeter of the tent body. Start at one corner and work your way around until all of the poles are in place.
5a) For tents with shock-corded aluminum frame: Spread outthe tent body overthe frameand clip or velcrothe cornersand/orthe sidesofbodytoframeasneeded.
(Mostmodelswillhaveafewclipsorvelcroattachmentpoints.)Cliporthe rainflyto theremainingloopsonthisframe(again,mostmodels will have only two or three loops left).Tightenthetarpatpulloutsbytyingthesuppliedguylinefromeach looptoastakeincludedwithyourtentkit.(Notethesearetypicallynotstakeduntiltherainflyisbeingused.) 5b) For tents with fiberglass frame: Insertoneendofthefiberglasspoleintoapocketlocatedatthetopcornerofthetentbody;spreadoutthebodyoverthepolesandrepeatthesameprocessfortheremainingcornersuntiltheframeisfullyassembledandspreadout.
.Cliporthe rainflyto theremainingloopsonthisframe(againmost models willhaveonlytwoorthree loopsleft).Tightenthetarpatpulloutsbytyingthesuppliedguylinefromeach looptoastakeincludedwithyourtentkit.
Canvas Tent With Stove
A canvas tent with stove is a great option for those who want to camp in comfort. Not only will you be able to keep warm, but you’ll also be able to cook your meals without having to leave the comfort of your tent. Here are a few things to consider before purchasing a canvas tent with stove:
– Size: Make sure to pick a size that will comfortably fit you and all of your camping gear. You don’t want to be cramped up inside your tent!
– Weight: A heavier canvas tent will be more durable and hold up better in windy conditions, but it will be harder to carry if you’re planning on hiking into your campsite.
Choose the weight that best suits your needs.
– Price: Canvas tents can range widely in price, so shop around and find one that fits your budget. Just because it’s cheaper doesn’t mean it’s not a good quality tent!
Glamping Tents for Sale
If you’re looking for a stylish and comfortable way to camp, then investing in a glamping tent is a great option! Not only will you be able to enjoy all the amenities of home while camping, but you’ll also have a chic and Instagram-worthy space to relax in. Here are some of the best glamping tents for sale that will make your next camping trip one to remember:
1. The Lotus Belle Tent: This beautiful canvas tent is perfect for those who want to enjoy a luxurious camping experience. It comes complete with plenty of windows and doors for ventilation, as well as an electric fan and lighting system. You’ll also find comfy furnishings inside, like a queen-sized bed and sofa.
2. The Heirloom Tent: If you’re looking for an antique-inspired glamping tent, then the Heirloom Tent is perfect for you! It’s made with 100% cotton canvas and features intricate details like ruffled curtains and embroidered pillows. Plus, it come equipped with modern amenities like an LED lighting system and USB charging ports.
3. The Safari Tent: For those who want to feel like they’re truly roughing it in the wilderness, the Safari Tent is perfect! It’s made with durable materials that can withstand extreme weather conditions, and it even has a mosquito netting canopy so you can sleep soundly without worrying about bugs bites. Plus, it comes with plenty of storage space so you can keep all your camping gear organized.
Kodiak Canvas Cabin Tent
There’s something special about sleeping in a tent. Maybe it’s the feeling of being one with nature, or maybe it’s just the sense of adventure that comes with spending a night under the stars. Whatever the reason, there’s no denying that tents have a certain appeal.
If you’re looking for a tent that combines all the best features of traditional camping tents with the rugged durability of a canvas cabin, then the Kodiak Canvas Cabin Tent is for you.
This spacious tent can accommodate up to six people, making it perfect for family camping trips or getaways with friends. The heavy-duty canvas construction will keep you dry and comfortable in even the most adverse conditions, and the included rain fly provides an extra layer of protection from the elements.
The frame is made from powder-coated steel for superior strength and stability, and large windows and doors provide plenty of ventilation to keep things cool on hot summer nights.
Whether you’re an experienced camper or someone who’s just getting started, the Kodiak Canvas Cabin Tent is sure to make your next camping trip one to remember.
Credit: www.walltentshop.com
How Do You Fold a Tent Step by Step?
Assuming you have a rectangular tent, here are the steps to fold it:
1. First, take all of the poles out of the tent. If the poles are separate from the tent, set them aside.
2. Next, shake the dirt and debris off of the outside of the tent. Be sure to check all pockets and nooks for any rocks or leaves that may have made their way inside overnight.
3. Once the outside is clean, begin taking down the rainfly (the waterproof covering).
Unclip it from around the perimeter of the tent body and fold it in half lengthwise. Then fold it in half again until it’s about one foot wide and can be easily carried without dragging on the ground.
4. The next step is to start folding up the tent body itself.
Start by bringing two opposite corners together and tying them with a piece of string or an elastic band so they stay put while you finish folding up your tent.
How Do You Fold a 4 Sided Pop Up Tent?
Assuming you have a 4 sided pop up tent, the first thing you need to do is locate all the poles. There should be four in total, two shorter ones for the front and back, and two longer ones for the sides. Once you have found all the poles, it’s time to start attaching them.
Take the two shorter poles and insert them into the grommets at the top front and back corners of the tent. Then do the same with the two longer poles, inserting them into grommets at the top middle of each side.
Now it’s time to start folding!
Start by folding in one side of the tent so that it meets in the middle with the other side. The pole on this side will now be sticking up in the air – grab hold of it and fold it down so that it lies flat against the fabric. Do this slowly and carefully so that you don’t damage or break any of the poles.
Once this side is done, repeat withthe other side until both are folded inwards towards each other.
The last step is to take hold of both ends ofthe tent (the front and back) and bring them together so that they touch inthe middle. The pole at each end should now be sticking up – simply fold these down as well so that they lie flat againstthe fabric.
And there you have it – your 4 sided pop up tent is now successfully folded!
How Do You Take down a Dome Tent?
Assuming you have a dome tent with poles and guy lines, here are the steps to take it down:
1. Start by taking down the rain fly, if you have one. This will be the outer layer that protects against weather.
2. Next, take down any stakes or guy lines that are keeping the tent in place.
3. Carefully fold up the tent body and poles, being careful not to damage the fabric or break the poles. 4. Once everything is packed up, put it back in the carrying bag for transport.
Taking down a dome tent is a relatively simple process as long as you follow these steps carefully. Be sure to pay attention to how your particular tent is designed so that you can put it away correctly and avoid damaging it. With proper care, your dome tent should last for many camping trips to come!
How Do You Pack a Horse’S Wall Tent?
A horse’s wall tent can be packed by removing the poles and canvas from the tent, folding the canvas, and then rolling it up. The rolled-up canvas can be tied with straps or ropes to make it easier to carry. The poles can be packed separately in a bag or tube.
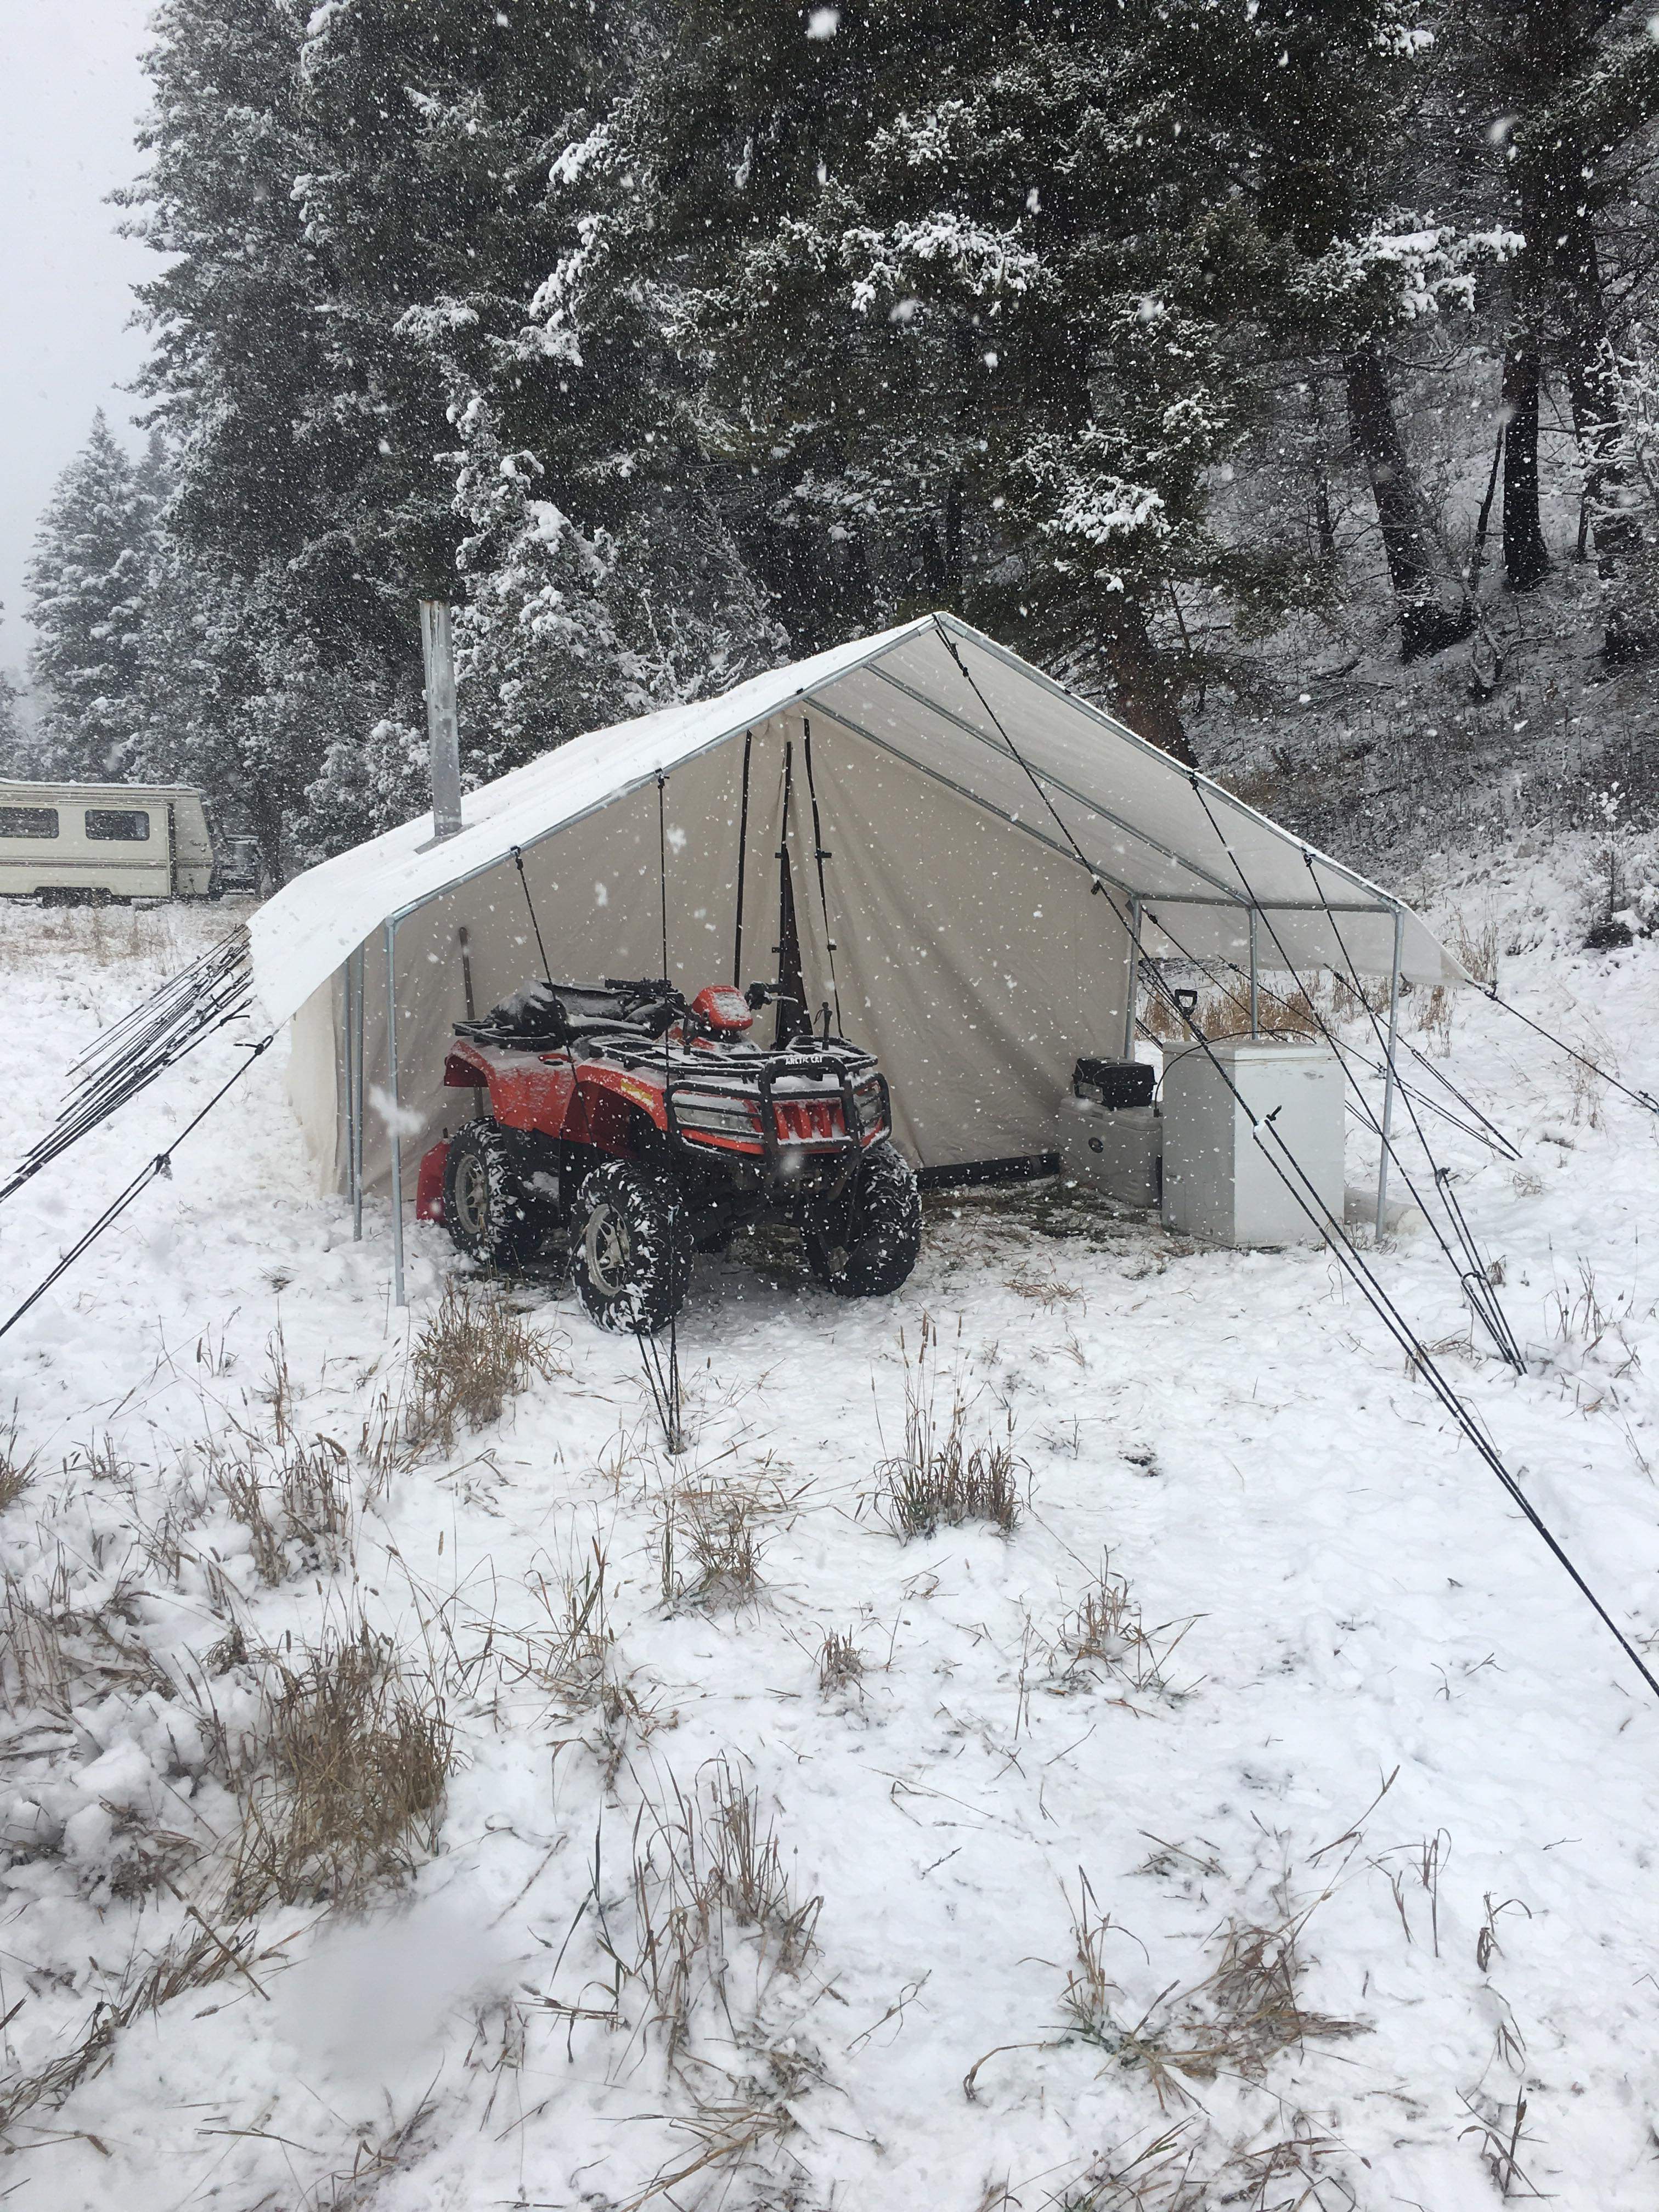
Folding a Wall Tent in the Field
Conclusion
A wall tent is a type of shelter that is typically used in camping or hunting. They are easy to set up and take down, and provide a lot of space for a small group of people. Wall tents can be made from a variety of materials, but the most common are canvas or nylon.
To fold a wall tent, start by taking down the walls and flooring. Next, fold the top half of the tent in towards the center, and then roll it up from one end to the other. Finally, tie or strap the rolled-up tent so that it stays together during transport.