If your pop up camper’s crank is broken, you will need to replace it. To do this, first, remove the old crank by unscrewing it from the camper. Next, measure the length of the new crank and cut it to size.
Then, screw the new crank into place. Finally, test the new crank to make sure it works properly.
- The first step is to remove the old crank by unscrewing it from the camper
- Next, measure the new crank to make sure it is the same size as the old one
- Once you have the new crank, screw it into place and make sure it is tight
- Finally, test the new crank by opening and closing the camper to make sure it works properly
Replacement Crank for Pop Up Camper
If you have a pop up camper, sooner or later you will need to replace the crank. The most common reason for replacing the crank is because it has become stripped and no longer works properly. Another reason for replacing the crank is if it is bent or damaged.
There are a few things to consider when purchasing a replacement crank for your pop up camper. First, you need to make sure that you get the correct size. The most common sizes are 1/2″, 5/8″ and 3/4″.
Second, you need to make sure that the new crank is compatible with your camper’s lift system. Third, you need to decide what material you want the new crank to be made out of. Aluminum cranks are light weight and strong, but they can bend if too much force is applied.
Steel cranks are heavier and more durable, but they can rust over time. Finally, you need to decide whether or not you want a hand Crank or an electric drill Crank .
Hand cranks are less expensive and easier to install, but they require more effort to use than electric drill cranks .
Electric drill cranks are more expensive and require some basic wiring knowledge , but they make raising and lowering your camper a breeze .
Pop Up Camper Crank Problems
If you’ve ever had your pop up camper’s crank fail, you know how frustrating it can be. The good news is, there are some things you can do to prevent this from happening. Here are a few tips:
1. Make sure the area around the crank is clear of debris before using it. This will help ensure that the crank can turn freely without binding.
2. Lubricate the crank regularly with a light oil or WD-40.
This will help keep it working smoothly and prevent rusting.
3. Inspect the crank for damage before each use, and replace any damaged parts immediately.
4. If possible, avoid cranking in very cold weather, as this can cause the metal to contract and break more easily.
How to Rebuild Lower Crank on a Pop Up Camper
If you have a pop up camper, you may eventually need to rebuild the lower crank. This is not a difficult task, but it does require some basic tools and knowledge. Here are the steps you’ll need to take to rebuild your lower crank:
1. Remove the old crank from the camper. You will likely need to use a wrench or socket set to remove the old crank. Be sure to save any screws or bolts that you remove during this process.
2. Once the old crank is removed, inspect the area where it was mounted. If there is any damage, such as stripped threads, you’ll need to repair this before proceeding.
3. Install the new crank in the same position as the old one.
Again, be sure to use any screws or bolts that you removed earlier. Tighten everything down securely.
4. Test out your new lower crank by opening and closing the camper’s main door several times.
If everything seems to be working properly, then you’re all done!
Coleman Pop Up Camper Crank Assembly
Coleman Pop Up Camper Crank Assembly: How to Replace It
Your Coleman pop up camper is a great way to enjoy the outdoors, but over time, even the best campers can start to show their age. One common issue that can crop up is a problem with the crank assembly.
The good news is that this is a relatively easy fix that you can do yourself. Here’s how to replace your Coleman pop up camper crank assembly.
1. Start by removing the old crank assembly.
This will be mounted on the side of the camper, so you’ll need to unscrew it and then pull it off.
2. Take a look at the new crank assembly and familiarize yourself with its parts. There should be a handle, a shaft, and a gearbox.
3. Line up the new crank assembly with the mounting holes on the side of your camper and screw it in place. Make sure it’s tight so it doesn’t come loose while you’re cranking your camper open or closed.
4.’s time to test out your new crank assembly!
Open and close your camper a few times to make sure everything is working properly.’s all there is to it! Replacing your Coleman pop up camper crank assembly is quick and easy, so there’s no need to call in a professional if you run into this issue down the road.
How to Raise a Broken Pop Up Camper
We all know the feeling of excitement that comes with purchasing a new pop up camper. But what do you do when your beloved camper is damaged? Whether it’s due to an accident or bad weather, raising a broken pop up camper can be a daunting task.
But don’t worry, we’re here to help!
First things first, you’ll need to assess the damage. If the damage is extensive, it may be best to take your camper to a professional for repairs.
However, if the damage is minor and you feel confident in your abilities, here are some tips on how to raise a broken pop up camper:
1. Start by removing any debris that may be blocking the path of the lift systems. This includes leaves, branches, and rocks.
2. Next, check all of the lift system cables and pulleys for any damage or wear. If any of these components are damaged, they will need to be replaced before proceeding.
3. Once everything has been cleared and inspected, it’s time to start raising the camper top.
Begin by slowly cranking each corner post until the top is level with the ground. Make sure to go slowly so you don’t put too much strain on the lifting system components.
4. Once the top is level with the ground, prop it up with some sturdy objects (like logs or cinder blocks) so it doesn’t fall back down while you work on securing it in place.
5.,Now it’s time to start reattaching all of the canvas panels aroundthe perimeter ofthe popup frame . Start at one endand workyour wayaround , making sureto secure eachpanelwith either Velcro stripsor snaps ( dependingon what typeof closure yourpopup uses ).
6..
Once allof Thecanvas panelsare secured , Youcan now lowerThepopup backdownTo its normalposition . Make surethatAll fourcorner postsAre equallyloweredto avoidputtingToo muchstressOn any onecomponentOf Thelift system .
7..You shouldnow haveYour popupcamperRaisedAnd readyFor use !
Credit: www.drivingline.com
How Do I Fix a Broken Crank on My Pop Up Camper
If you have a broken crank on your pop up camper, there are a few things you can do to fix it. First, try to see if the crank is just loose. If it is, tighten the bolts that hold it in place.
If the crank is actually broken, you will need to replace it with a new one. To do this, remove the old crank by unscrewing the bolts that hold it in place. Then, attach the new crank in its place and screw the bolts back in.
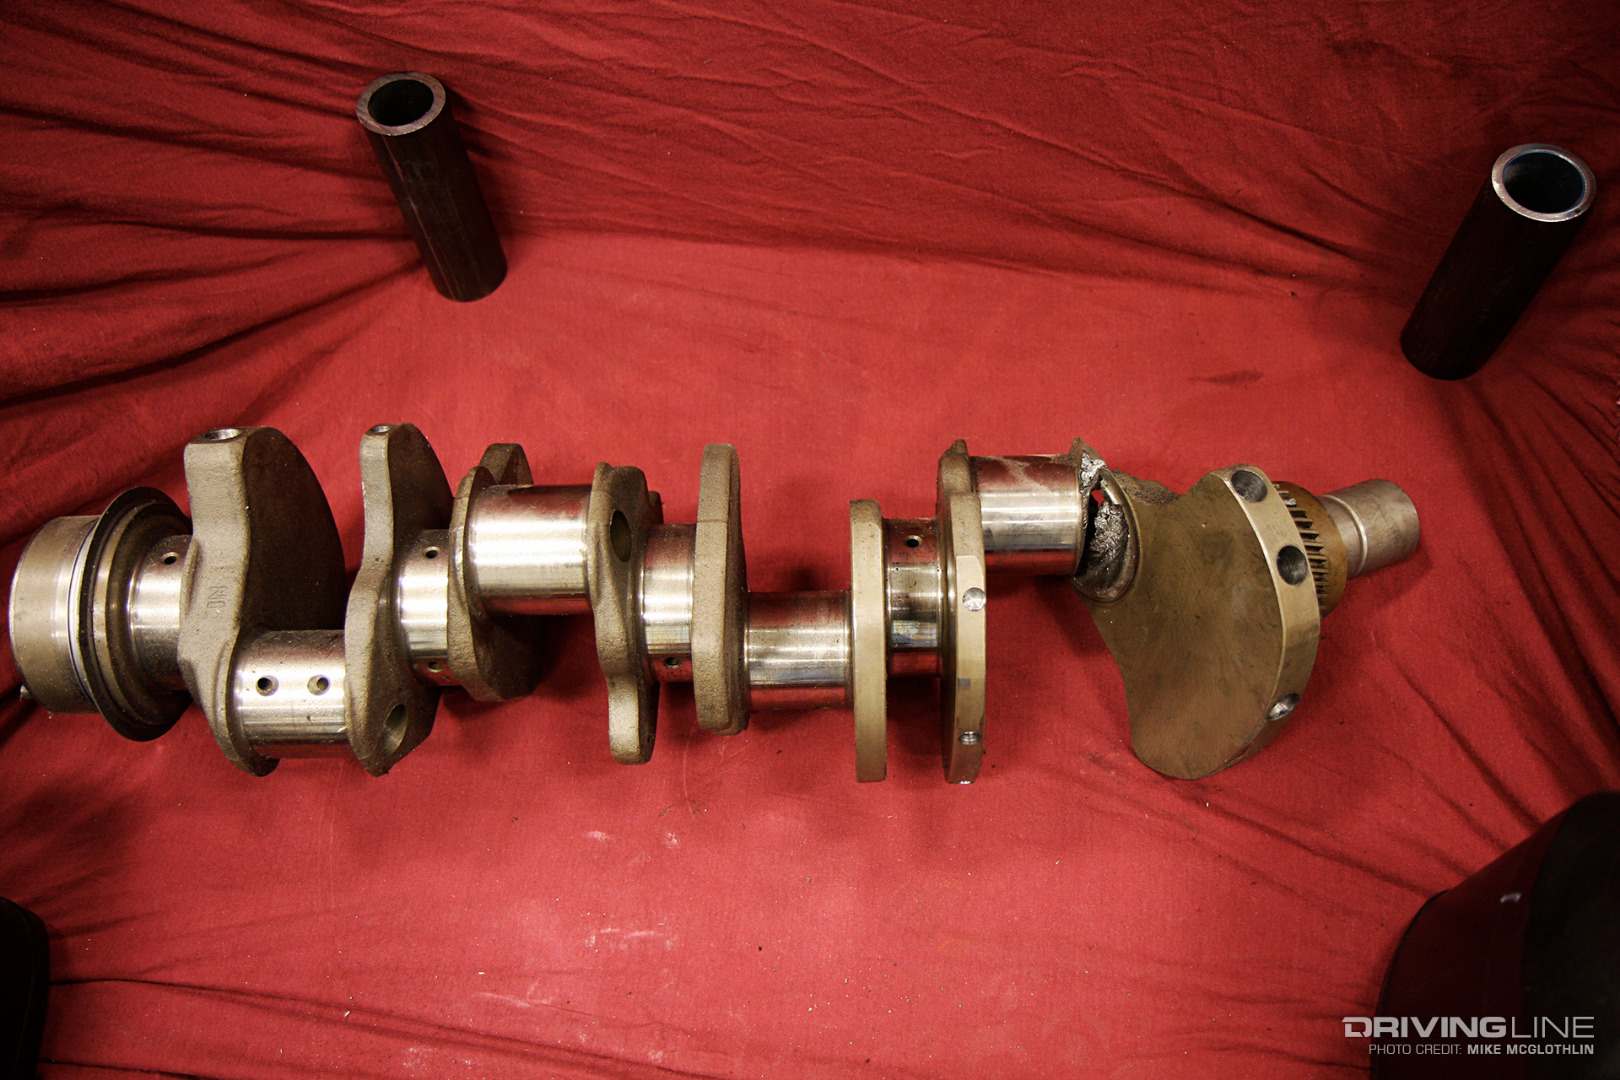
How to fix a supposed broken crank on a pop up camper.
Conclusion
If you have a broken crank on your pop up camper, don’t fret! There are a few easy ways to fix it. First, try tightening the bolts that hold the crank in place.
If that doesn’t work, you can try replacing the Crank Handle Bushing. Finally, if all else fails, you can replace the entire Crank Assembly. With a little elbow grease and some patience, you’ll have your camper working like new in no time!